Fix the gaps in your hoops

Wooden embroidery hoops are round, right?
But are they perfectly round?
Generally speaking, they are not. But to a human eye the imperfections are not necessarily noticeable. However, they are there and if you're not careful to keep your inner and outer hoops in the 'right spots', they just may ruin your chances at getting your hoop set up perfectly drum-tight.
I know you wouldn't want that, so today I'm sharing a simple little trick, which if applied correctly, will ensure you tighten the fabric evenly all around the hoop every single time.

Above (to the left) is a digital representation of your embroidery hoop which consists of an inner hoop (one piece) and an outer hoop (has a gap with attached enclosure).
These two 'hoops' are, again – not perfectly round.
So if you were to turn the inner hoop by 45 degrees in either direction (on the right), and put both parts back together, you would encounter some gaps in-between the parts no matter how hard you tighten the screw.
This is totally normal since our hoops are made of hard wood and generally resist deformation over a short period of time. Sometimes even the slightest of movements will introduce those gaps, which, of course, is a perfect recipe for uneven fabric tension, aka a pain in the butt to work with.

So how do we avoid them?
First thing I should point out is the way embroidery hoops are made. This will explain why the gaps may occur. They are made of thin strips of wood glued and moulded together to form into shape under high pressure and temperatures. They are then tightened together even further by the screw. By the time they arrive at your door step, the bond and shape of it is stronger than ever.
That's why when you look at your hoop fresh from the factory, it is unlikely to have any gaps. (This generally applies more consistently to higher quality hoops.)
I found this video on Youtube which offers some insight into some manufacturing.
Side note: I have to say the conditions the people in the video are working in are quite disturbing, so watch at your own discretion.

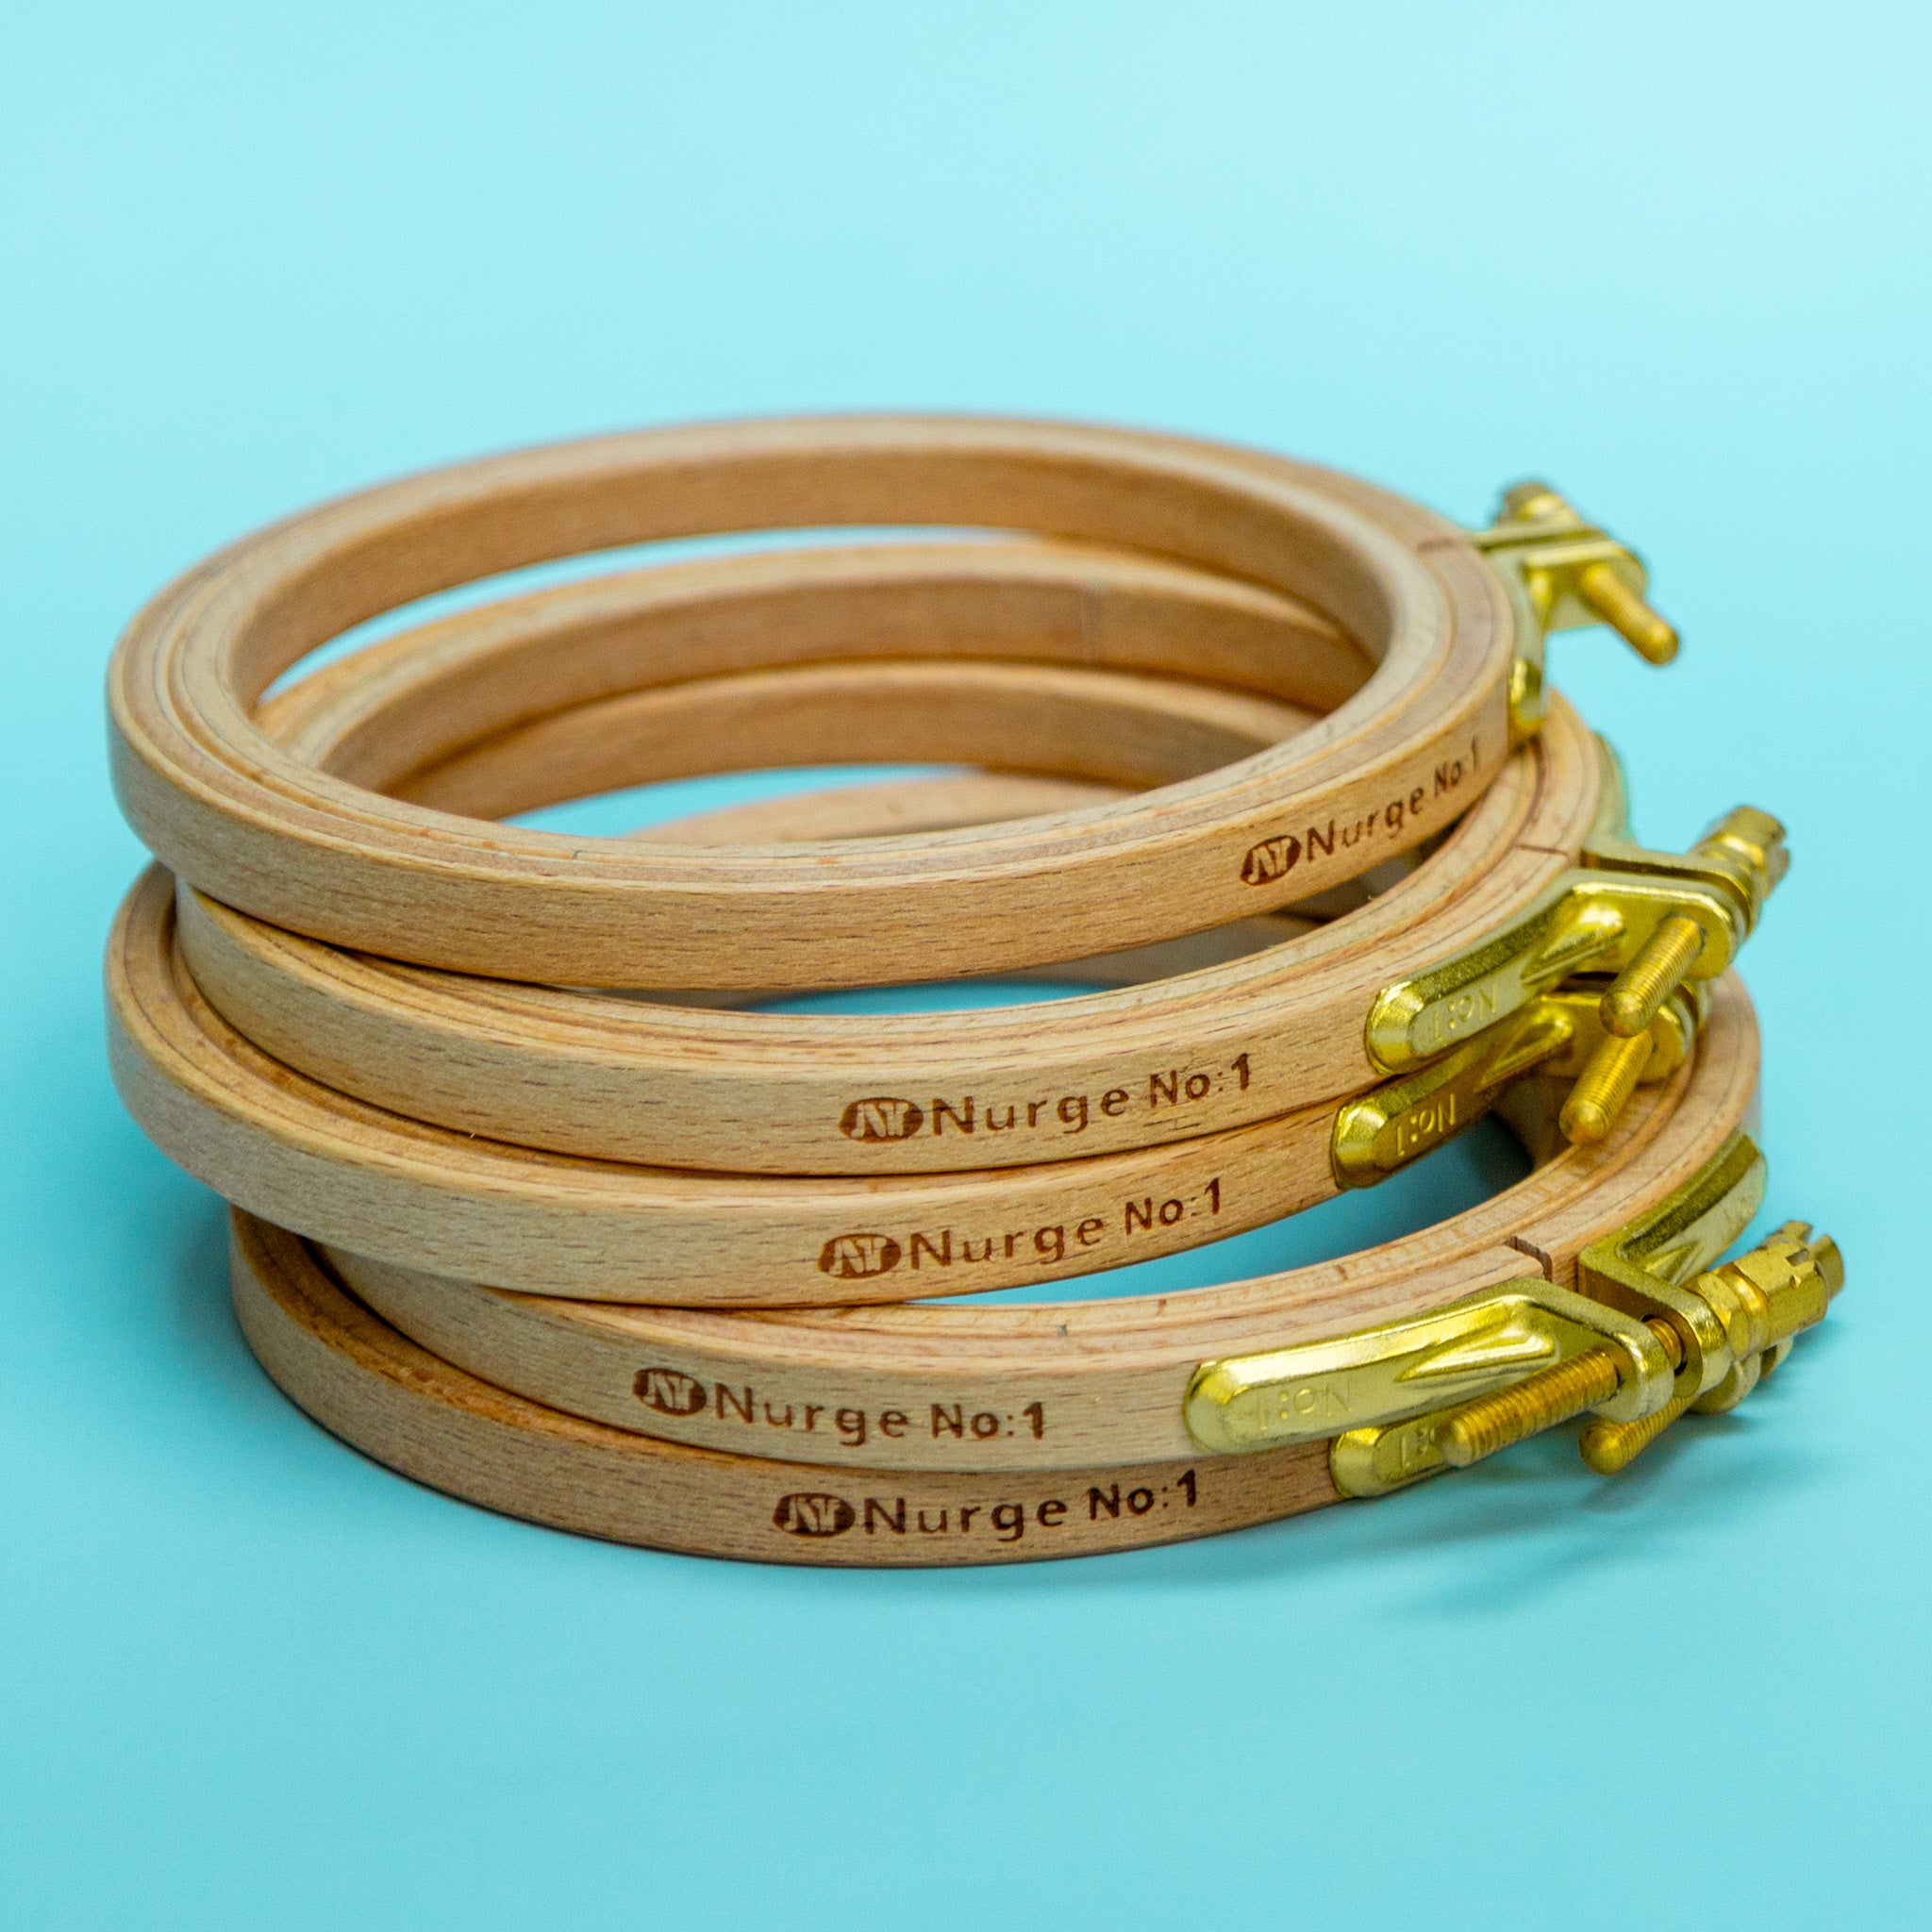
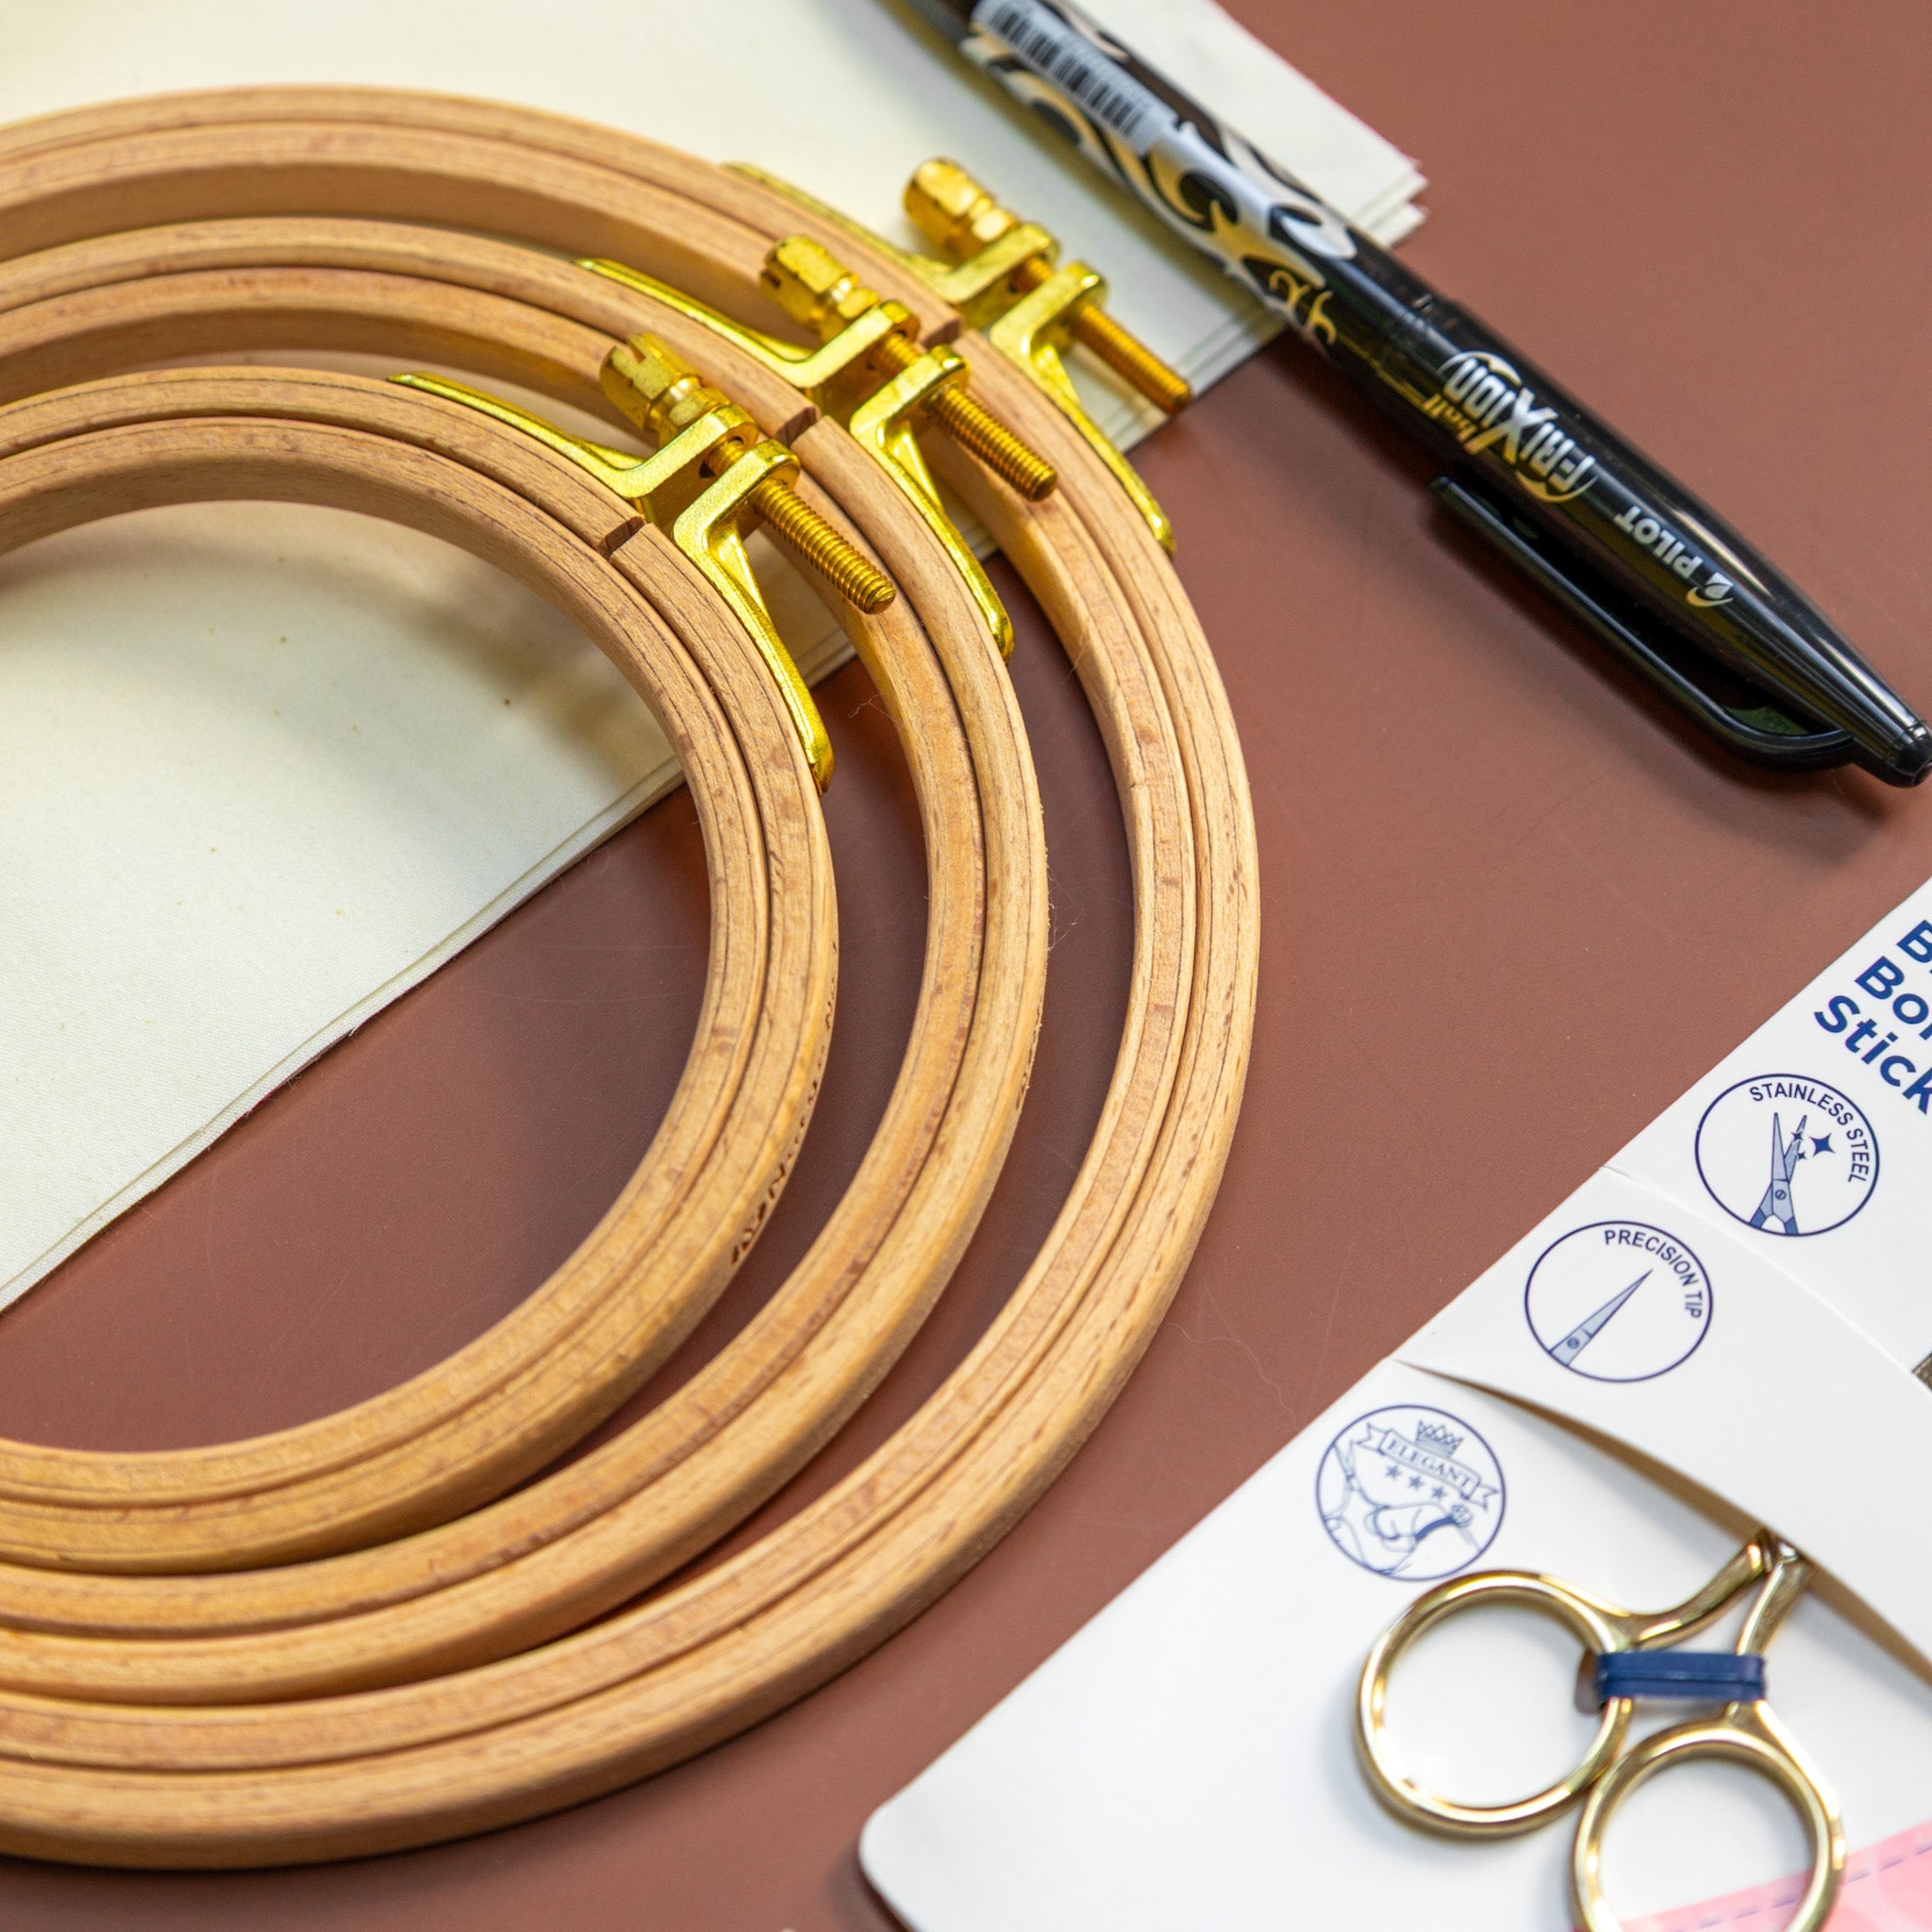
If you find yourself to be a lucky owner of a brand new and nearly-perfect hoop like those made by Nurge, it is unlikely your hoop has gaps to begin with. So, this is exactly the time to implement this tip:

Draw a line on the back of your hoop crossing both parts.
It's that simple, and let me quickly tell you why.
Essentially what you're doing by drawing that line is indicating how (in what positions) exactly the inner and outer parts fit together best. And you can use that line as your point of reference when working with the hoop later on.
Why draw the line with a pencil?
Because you can erase it if you need to. For example, if you'll be gifting or selling your artwork.
Why draw the line on the back?
Because it will be easier to see if the parts are matched from the back, and if you're working with lighter fabrics, there's a chance you'll be able to see the line through from the front. I'd recommend avoiding that.

So there you have it, my little "game changer" of a tip.
Let me know if you found it useful to learn in the comment section below, and watch the accompanying video I made for this post for more visuals (Instagram).

Also check out my previous blog post where I go in depth on the topic of different embroidery hoops (types, brands), and share my experience with them along with recommendations HERE.




leave a comment