Puckering No More

If you've never heard of puckering, consider yourself lucky. Today you get to learn what one of the scariest (if not the scariest) things that can happen to your embroidery looks like – and most importantly – how to make sure it never crosses your path.
However, even if you're familiar with the term, you may not know a couple of tricks I'm about to share on the best fixes for puckering. So buckle up.
Disclaimer: Some of the photos used in this post are not my own. Please refer to 'image source' link for source.
What is Puckering?
If someone comes and shows their work that clearly has puckering in it, asking for advice, my first reaction is to rub my face from top to bottom with a pretty heavy hand because the verdict I'm about to deliver is not kind.
It's this:
And this:
And this:
It's when fabric bunches up, around or is some parts of your stitching your stitching, causing a sort of gathered and bumpy look.
Truth is, puckering is akin to a "death sentence" for a piece of embroidery. It doesn't just happen, you are at fault here. And by you, I mean me too, okay? I've been there, I've done that.
It usually happens because you don't know that you're making a mistake. And if you don't know, you can't prevent it. Sadly, this particular mistake is permanent in most cases.
Why does it happen?
There are at least 3 factors at play here, and it's complicated by the fact that those factors are at play with each other, too.
Let me attempt to un-complicate it.
The three factors:
- Fabric type
Some fabrics pucker more easily than others; eg, synthetics or very tightly woven fabrics. - Fabric stability/tension
If your fabric moves around during stitching, aka it's not stabilised properly.
- Stitch tension
The inconsistency in looseness or tightness of your stitches (how hard you pull the thread after each stitch).
Puckering can be caused by one or any combination of these factors. That's why sometimes it can be a total surprise when you realise that something has gone wrong.

How to prevent it.
Here is a list practical tips you can implement in your next project to make sure you don't end up with puckering:
-
Avoid using stretchy fabric without stabilising it first.
Often the advice for beginners, to keep the costs down, is to use fabric you already have, such us old t-shirts or pillow cases. This advice is sound, but only if it comes with the added instruction to stabilise that fabric for stitching.
The easiest away to do this is by applying a piece of iron-on fabric stabiliser on the back of your fabric before you stretch it in the hoop.
Unless you're embroidering on heavyweight, non-stretchy fabric, this step is a must, in my opinion. We'll talk about embroidering on clothes in detail in future posts.
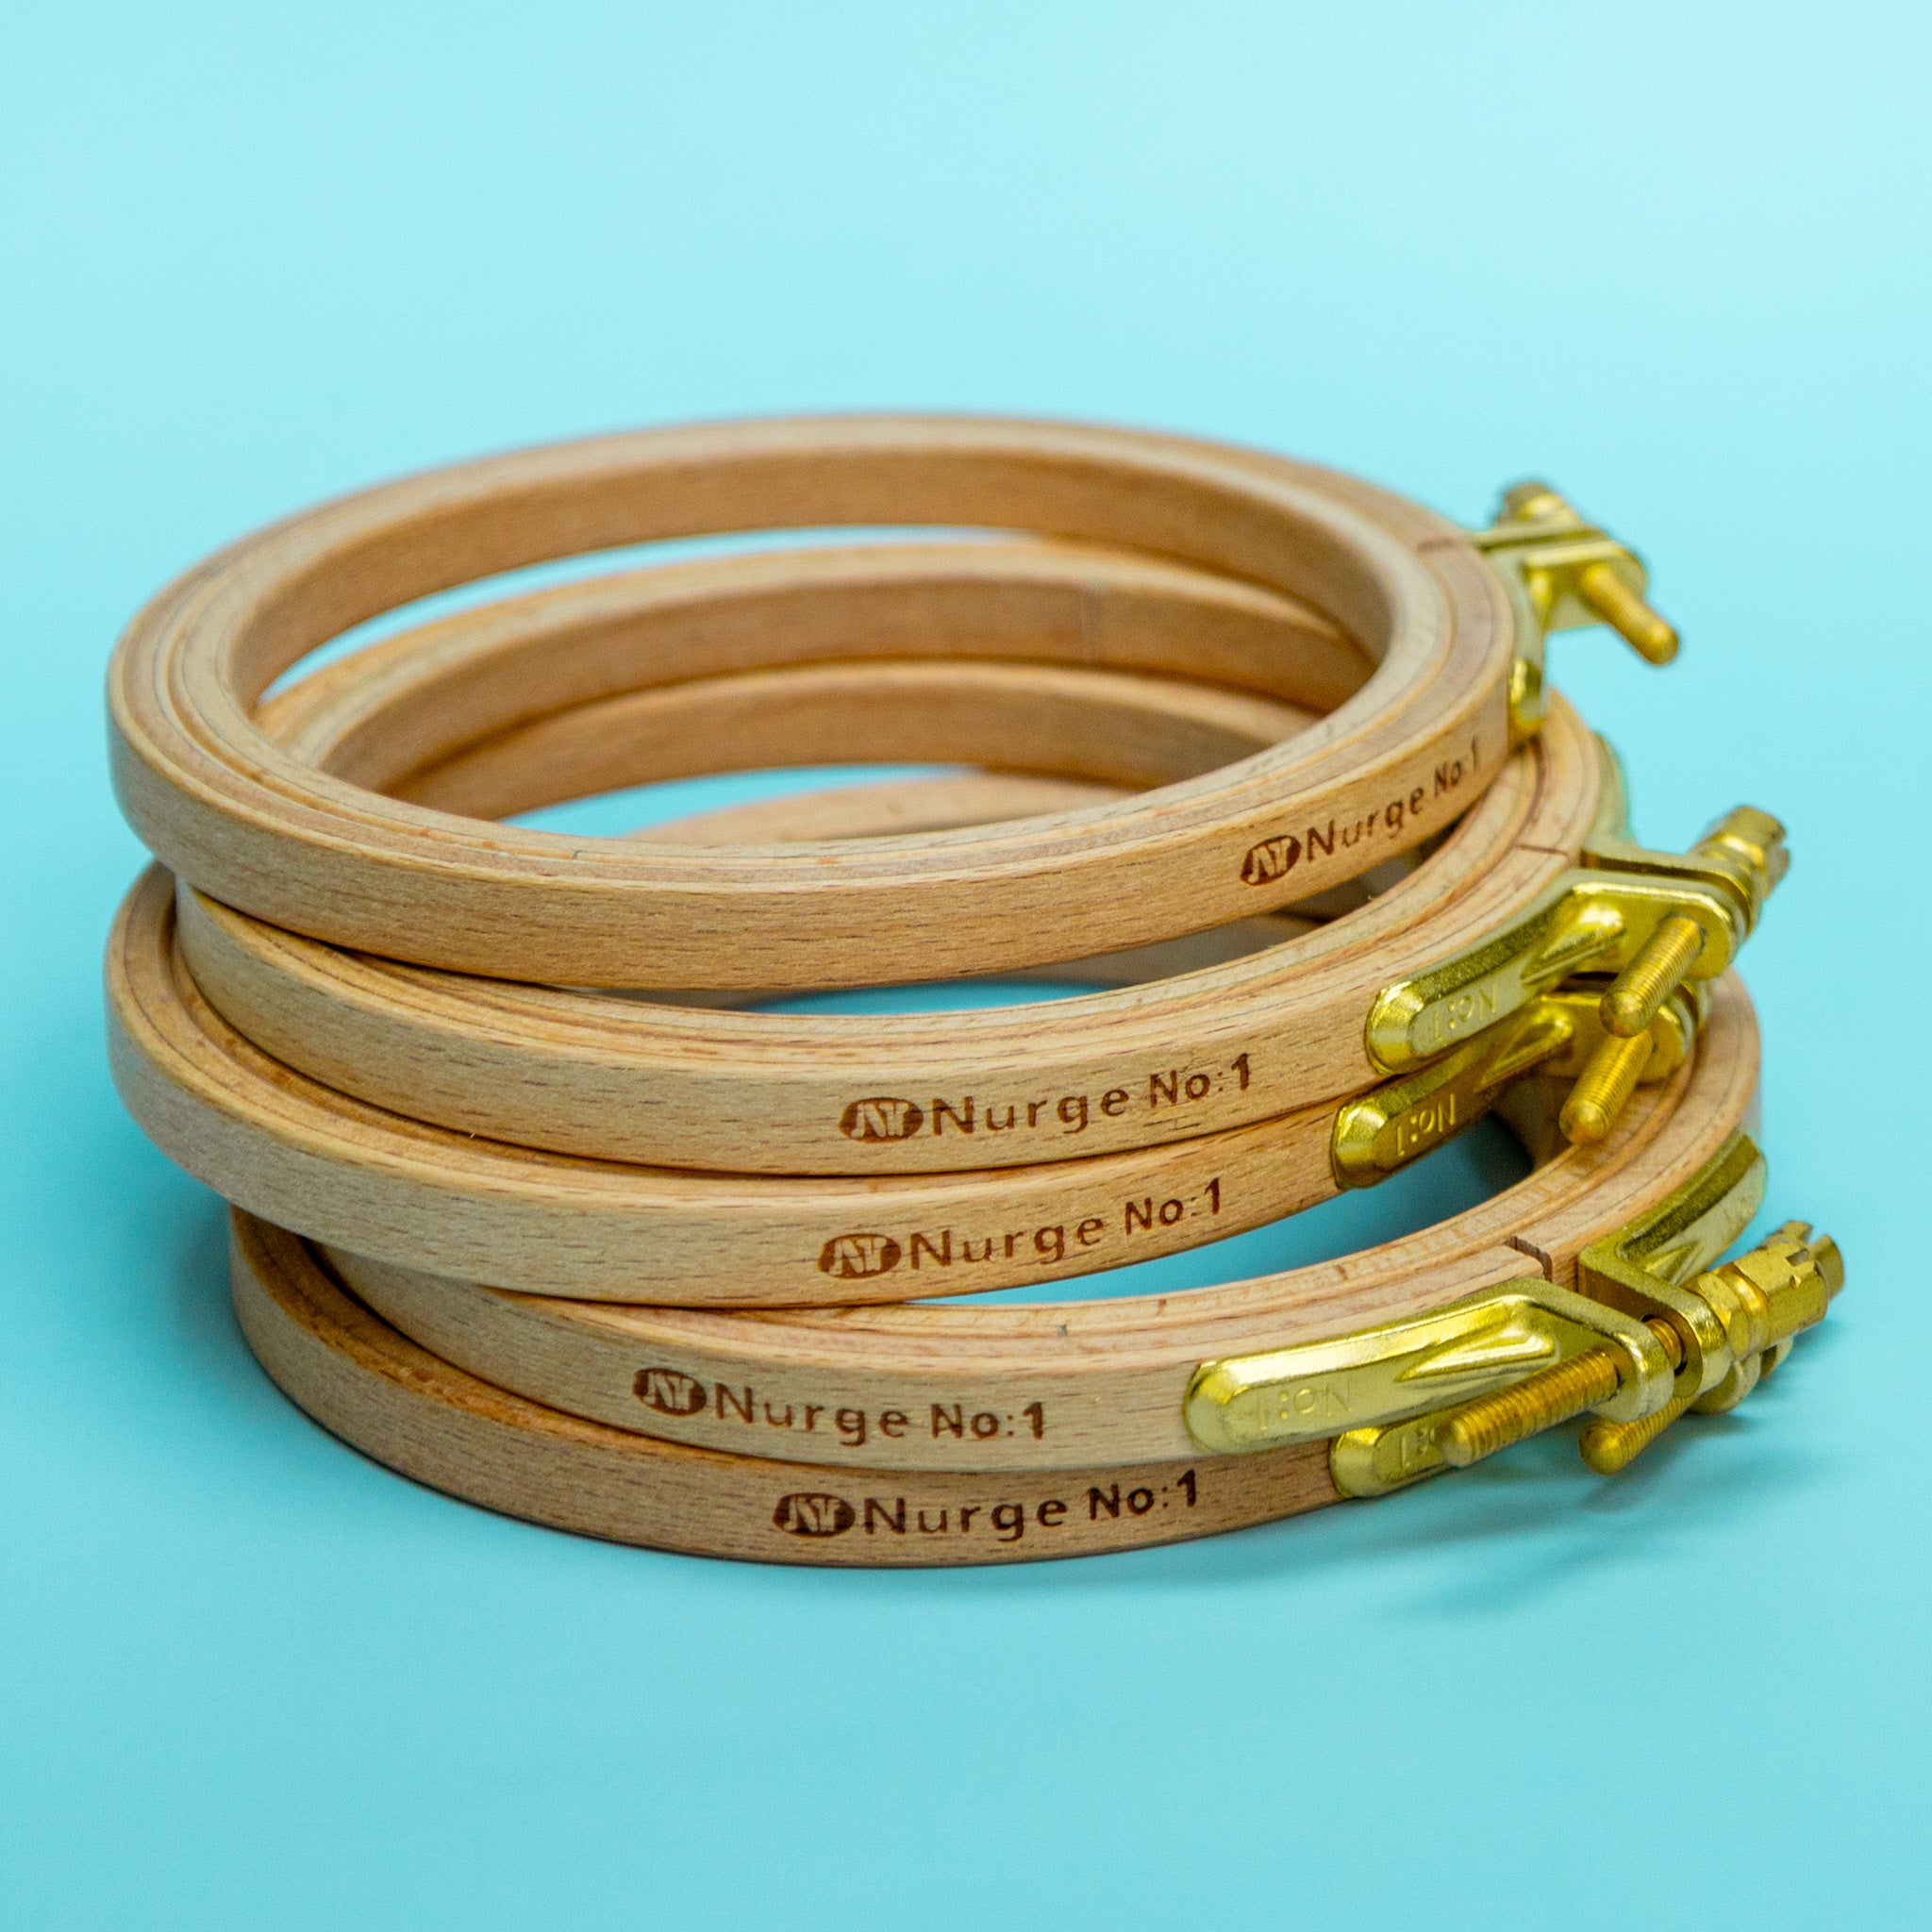
- Use good quality embroidery hoops that can actually deliver proper tension for your fabric and keep it that way until you’re finished embroidering.
Plastic hoops are generally great for that due to their moulded edges. You can read about all kinds of hoops and their pros and cons here.
Fabric tension consistency is also important. The ideal scenario looks like this:
1. Gently stretch your fabric inside the hoop.
2. Tighten the screw until your fabric is drum-tight.
3. Don't turn the screw again until you're finished with your embroidery.
This will ensure your fabric doesn't move at any point as you stitch, reducing the risk of puckering.

- Avoid touching the fabric as you work on your project.
Some embroidery hoops are easier to hold/grip than others and often times the need to grab the fabric too is inevitable to comfortably hold your hoop. Ideally, you don't want to touch the fabric or put pressure on it with your hand or fingers at any point.
A good solution to this problem is investing in an embroidery hoop stand or clamp. There are many types in existence for all types of budgets.


- Keep your stitches consistent in tension.
This is easier said than done, but it comes with practice. Depending on the type of stitch you're embroidering, it might be a good idea to support your thread by holding it in place with your free hand while working on your next stitch. Here is a visual example of that:

The tighter your fabric is, the easier it is to maintain consistent stitching tension.
- Avoid overlapping stitches
Ensure stitches are not bunched up excessively in one place. This will warp the fabric if you're not too careful.

The Fix.
Here are some things you can try to fix minor puckering:
Disclaimer: These are not guaranteed to work in every scenario due to the nature of puckering in individual circumstances; eg, how it happened and how "bad" it really is.
-
Block your finished embroidery.
I found a pretty detailed post about how to do it here. This technique uses water and controlled stretching to gently modify the fabric. -
Steam your embroidery.
Very similar to blocking, steaming your work can help 'iron out' those wrinkles. -
Loosen or adjust tight stitches.
If you can pin point the stitches are fault, carefully use the blunt side of a seem ripper to loosen them. -
Try "dry blocking."
Mount your finished embroidery on sticky mounting board, pulling and stretching as needed until it is smooth and flat. This can fix minor puckering for embroidery you display in a frame. -
Add fabric stabiliser after stretching.
If blocking and steaming works but your fabric still goes back to puckering after it's dry, iron on a piece of heavy fabric stabiliser on the back of it to 'force' the fabric into the stretched shape.
These tricks should be able to handle a lot of puckering. But in case it doesn't help your particular case, I am sorry, it's probably a lost cause and the best thing to do is to learn from it.









leave a comment